Before you Begin:
Review the information provided in the What is Multi-Factor Authentication and Why Do We Need IT? article prior to going through these instructions. Also, take the time to review the instructions before going through the steps.
Instructions:
Everyone must visit the MFA Setup Page to configure at lease one secondary verification method. You can choose to use the Microsoft Authenticator app (Option 1 below) and/or choose a text or call to your phone (Option 2 below). Best practice is to set up both using the Microsoft Authenticator App as the default method with a phone verification (SMS or Call) as a backup.
Please read the instructions below carefully prior to following the steps.
Option 1: Microsoft Authenticator App
Once installed, this will be set as your default sign-in method. You can change this if you prefer to use a different method as your default.
- Visit the MFA Setup link and sign in with your Office 365 username ([username]@goucher.edu) and password. Click NEXT.
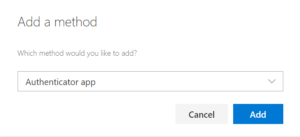
- From the Security info page, click Add Method then select Authenticator App.
- Then click the Add button.
- You will then be prompted to download the app to your phone. From your phone, launch the Google Play Store or the Apple App Store.
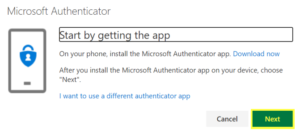
- Search for and download the Microsoft Authenticator app. Once downloaded, click Next on the Microsoft Authenticator window on your computer. Then click Next again.
- Open the Microsoft Authenticator app and select to allow notifications (if prompted).
- Select Add Account from the Customize and control icon (3 vertical dots) in the upper-right corner.
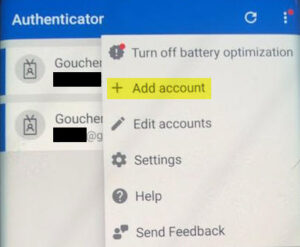
- Then select Work or school account (Android) or Scan a QR Code (iPhone).
NOTE: If this is the first time setting up the Microsoft Authenticator app, you might receive a prompt asking whether to allow the app to access your camera (iOS) or to allow the app to take pictures and record video (Android). Please select “Allow” so the authenticator app can access your camera to take a picture of the QR code in the next step.
- Scan the QR code provided on the screen which will add the account to the device automatically. Once this is complete, click Next on your computer.
- From your phone, click Approve to allow your account to be added to the Authenticator app.
Tip: If you are not able to scan the QR code or are denied access, you can still receive approval by providing the one-time password code found in the Microsoft Authenticator app.
Option 2: Phone (As Default or Backup Method)
As a backup option to the Microsoft Authenticator app, it is recommended to add a second method. To receive a phone call or text to verify your identity, follow these steps:
- Visit the MFA Setup link and sign in with your Office 365 username ([username]@goucher.edu) and password.
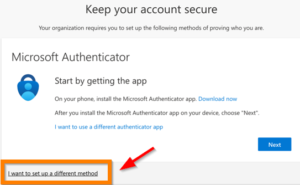
- For first time users: Click NEXT, and then click “I want to set up a different method” link.
For users who already setup the Authenticator app: From the Security info page, click Add Method
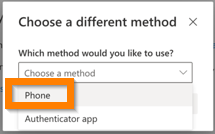
- Select Phone from the dropdown.
- Enter your cell phone number and choose the option to either Text me a Code or Call Me.
- If you choose the text option, you will receive a message on your phone with the code you need to enter.
- If you choose the call option, you will get a phone call for verification. Please follow the prompts to continue.
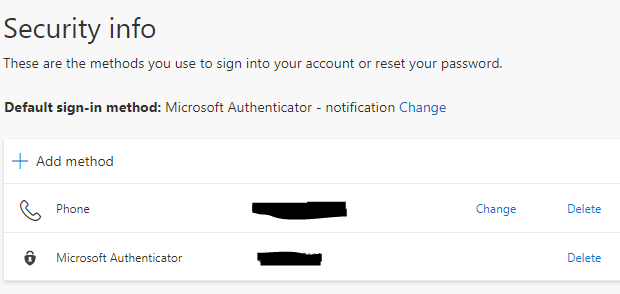
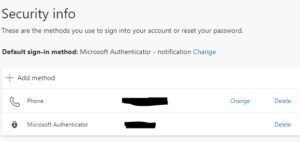
Your Security info page should look like this once both methods are set up:
Verifying Your Identity
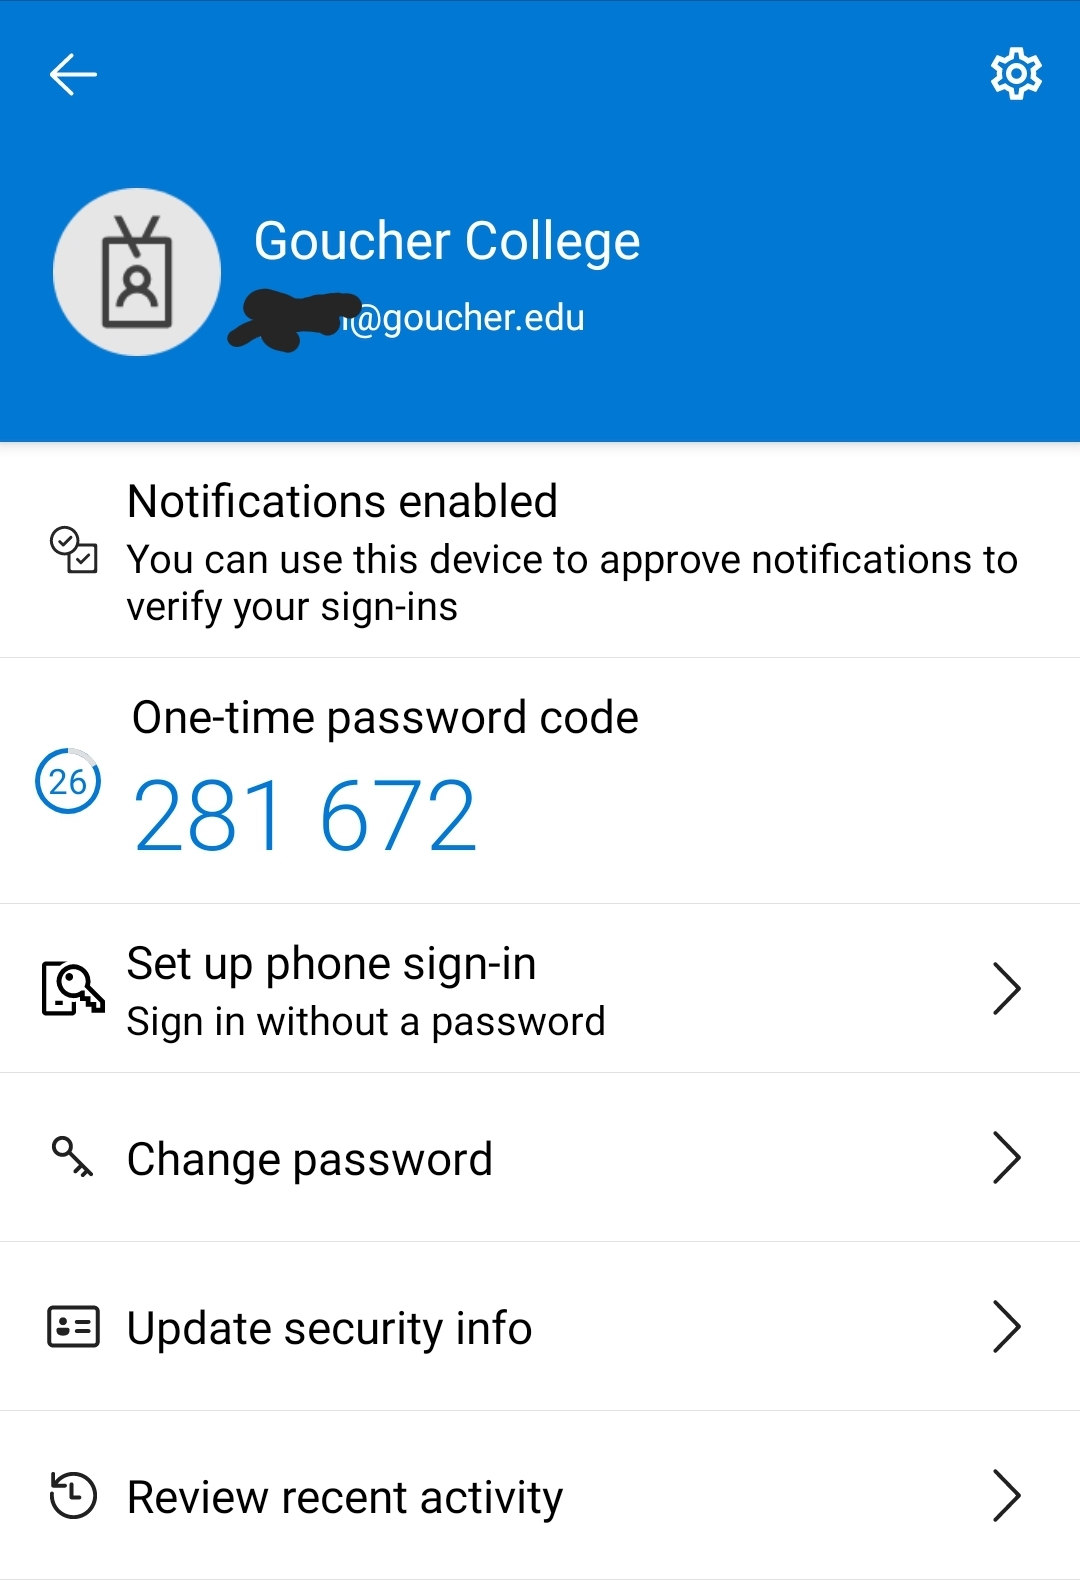
Once all the methods are set up, you can then attempt to access your Goucher email. If you are off-campus, you should be prompted to enter your password, then an option should appear to verify your identity. Here’s how the app should look once it’s been set up:
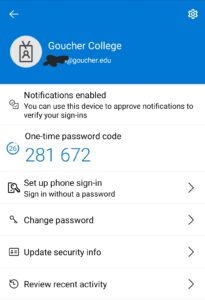
If the authenticator app is installed on your phone and set as the default sign-in method, then you’ll be prompted to approve access. If you selected a different identity method, then a verification code will be sent via text or phone call.
You will only be prompted for MFA once the feature is enabled for your account. If you do not receive a prompt while off-campus then it hasn’t been enabled for you yet.
Troubleshooting tip: If you already have your Goucher email setup on your phone, you may experience a problem with the authentication. If that is the case, remove the Goucher account from your email app then add it back again.
For instructions on how to remove and add your Goucher account back on your phone please check the following link https://blogs.goucher.edu/knowledgebase/2018/07/05/adding-your-office-365-email-account-to-your-mobile-device/
Please contact the Help Desk at helpdesk@goucher.edu if you experience a problem during setup.
Important Related Links: What is Multi-Factor Authentication and Why Do We Need It? and Multi-Factor Authentication FAQs