Hold for Authentication Error – Why this Happens
The “Hold for Authentication” error, as shown below is common on Apple devices. This error is caused when incorrect credentials are entered when going to print. Your Mac by default, will attempt to use the local account name on your computer to login to the printer and save it to the keychain. If you do not change the name from the Mac login to your Goucher username (ex. in the format of either josmi001 or jsmith) this error will occur. If those credentials are saved to to the keychain, this error will continue to occur on any future print jobs. This error also occurs if your password changes or expires without updating the keychain
Please note, you should always be on GoucherWiFi, not GoucherGuest when printing.
There are two solutions to this issue.
How to Resolve it
1. Refresh the Print Job
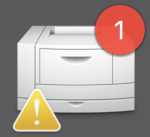
This is the easiest and quickest solution, although it may not work on some older Macs. On your dock, there is a printer icon with an exclamation mark as shown.
Click on the printer icon to open up your print queue. From there, you’ll see a list of your current print jobs.
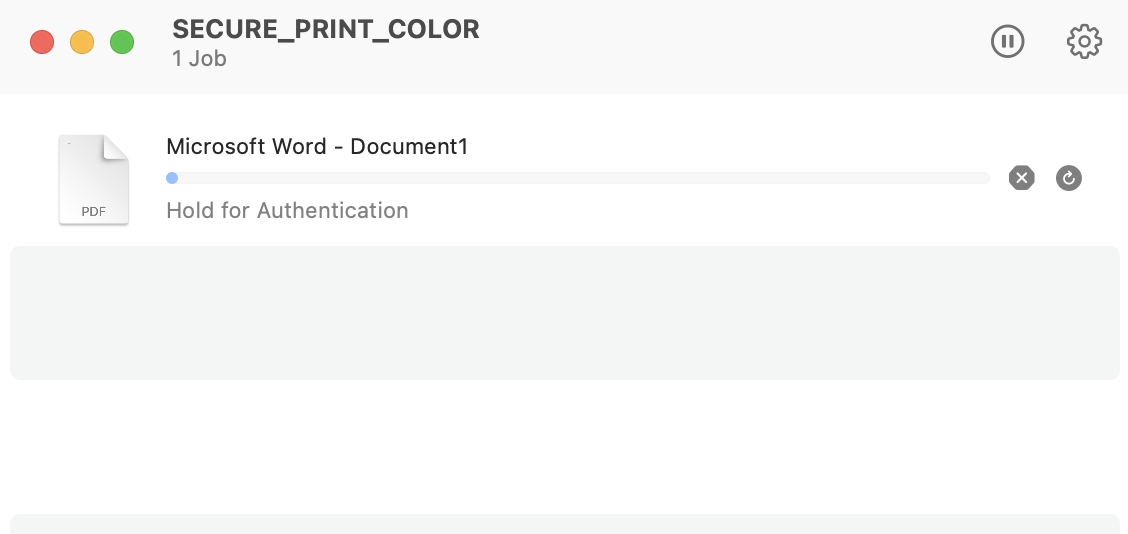
Click the refresh icon, ![]() you should now see a window to enter in a new username and password for the printer.
you should now see a window to enter in a new username and password for the printer.
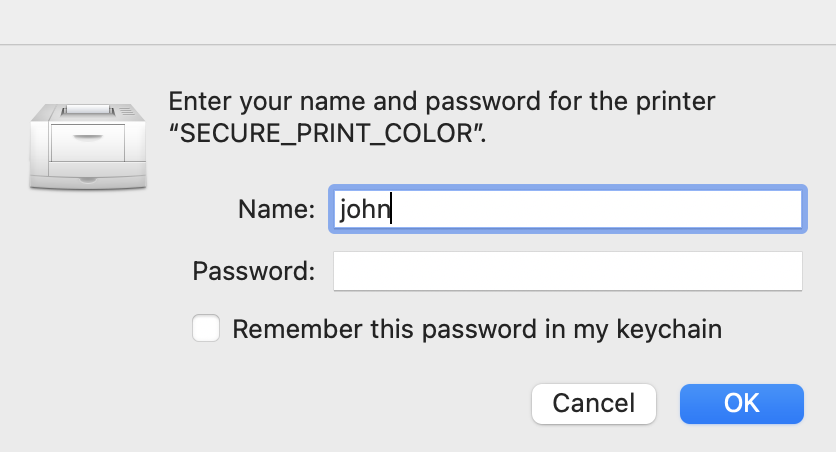
Remove the default username from the name field, if it’s not your Goucher username. Then enter in your Goucher credentials in the format of ‘josmi001’ (or jsmith for older accounts) as shown below.
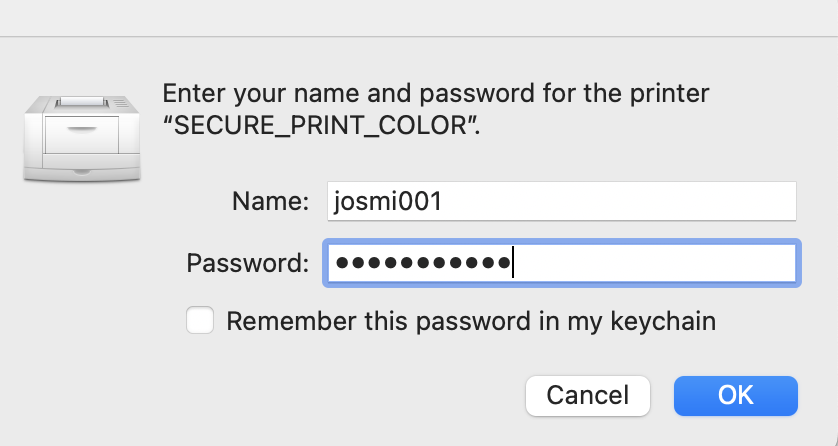
Click “Ok” and your print job should begin processing. If the credentials were correct, the print job should disappear from the print queue as shown below. Otherwise if incorrect credentials were entered, the printer will once again show a “Hold for Authentication” error.

1. Delete the saved credentials from your keychain
Note, this is an advanced troubleshooting step. Please contact the Helpdesk if you need assistance with this.
If the above steps do not work for you, it is likely caused by incorrect credentials that have been saved to the keychain. To resolve this, open up Spotlight Search ![]() in the top right, type in “Keychain Access.app” then press enter.
in the top right, type in “Keychain Access.app” then press enter.
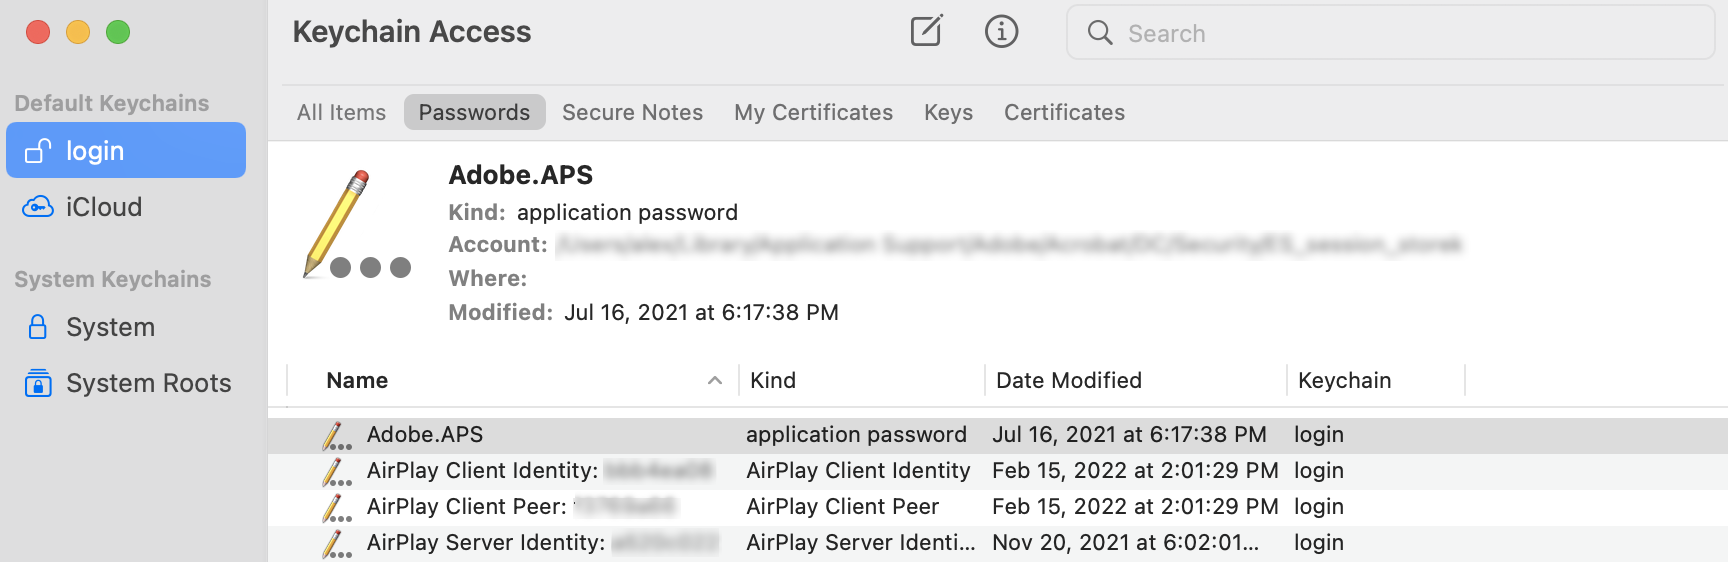
In the Keychain Access application that opens, select ‘login’ under ‘Default Keychains’ and then select the ‘Passwords’ tab as shown.
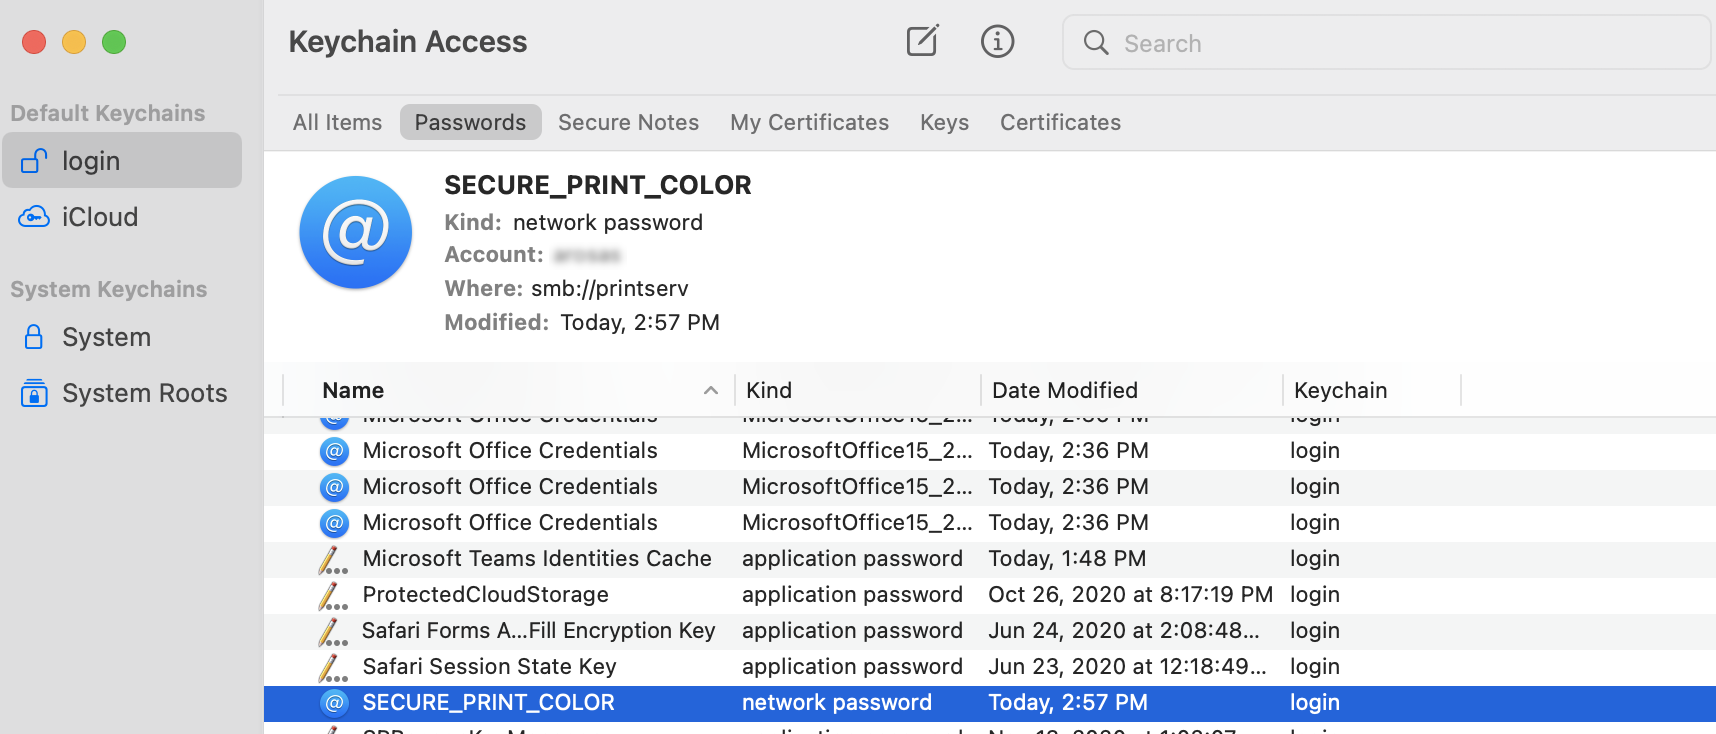
Scroll down until you find the keychain password for the printer, (faculty_print_bw, secure_print_color, etc) The printer password will have an @ symbol next to the name, and will be marked as a “network password.”
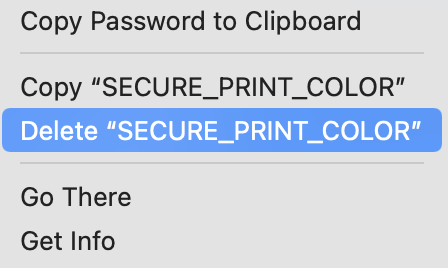
Press and hold the Control key while you click on the printer keychain, then select ‘Delete’
Confirm that you want to delete the keychain password. Then, attempt to print again. You should be prompted to enter in new credentials for the printer. Enter in your username in the format of “josmi001” (or jsmith for some staff/faculty) and your Goucher password, as shown.
If you find that you are not prompted for new credentials when going to print, restart your computer and try again.
If you have any further questions, please contact the Helpdesk at Helpdesk@goucher.edu