What is Horizon MyApps?
Horizon MyApps is a program that allows Goucher users to run specialty software from their own computer through the Horizon Client application. The specialty software is actually running on a Goucher server although it appears to be running from your own computer.
Examples of student software:
- SPSS
- MATLAB
- Office Suite (Including Word, Excel, Powerpoint, etc.)
Examples of faculty/staff software (dependent on department):
- ImageNow
- PowerFAIDS
- PowerCampus
NOTE: If you are on a Mac, there are some programs you can only access through Horizon (examples include PowerCampus and ImageNow.
How do I install Horizon MyApps?
Before you begin…
- On-campus users must be connected to GoucherWifi or ethernet (not GoucherGuest)
- Off-campus users must make a VPN connection to the Goucher network.
From your PC or Mac:
-
- Open a browser on your computer and go to https://myapps.goucher.edu.
- Download and install the “VMware Horizon Client” on your computer.
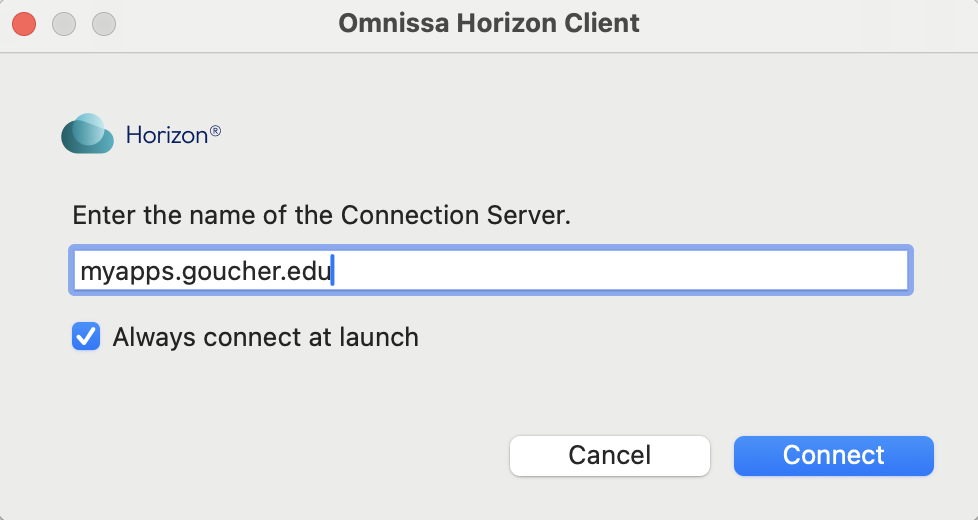
- After downloading and installing the Horizon client, you are presented with the above screen Enter myapps.goucher.edu as the connection server, then click next.
- Log in with your Goucher username and password.
You only have to configure the Horizon Client Server on your computer once. The next time you launch this software, just double-click the MyApps.goucher.edu icon and enter your Goucher username and password to continue.
Saving and Accessing your Files
Students
For students doing work on the Horizon programs, you will need to access and save your work files through Darwin. The following linked article details the entire process:
You can also save documents to your local computer, by navigating to Onissa Horizon Client -> Settings -> Drive Sharing on Mac, or Settings -> Drive Sharing on PC.
By allowing Onissa Horizon client access to C:\Users\username or to the Library username, you can save documents to your personal device, which can be later uploaded to OneDrive or Canvas.
When you go to save your data, you’ll see the option to save to user \\TSCLIENT, where user is the username from the computer you are signing into Onissa Horizon from.
Faculty/Staff
When working on Horizon, Faculty/Staff must save their files to the hard drive on their own computers. During the initial Horizon setup process, you may have been prompted to allow access to local and removable storage. If you selected it then, you can skip this section. Otherwise, below are instructions on how to set that up:
For Mac Users:
- Click Onissa Horizon Client menu, next to the Apple system menu in the top left of your screen
- Select Settings from the drop-down menu
- Click the Drive Sharing tab from the Preferences window that opens.
- Check the box to allow access to username, you may optionally allow access to removable storage to access devices such as USB flashdrives
- Restart Onissa Horizon once completed.
For PC Users:
- Click on the Settings menu in the top right corner of the window
- Select Drive Sharing
- Click the toggle to ‘On’ for “Share your local files”
- Click Apply, then restart Onissa Horizon
Is there anything I can do if I have technical problems?
If your computer freezes or you have other problems, try the following:
- From the Onissa Horizon Client window (not inside one of the software programs), click the gear icon in the upper right and select RESET.
- Uninstall the Onissa Horizon Client and reinstall it.
- For Sharing issues:
-
- On Mac: Go to System Preferences. Under “Sharing” select “allow access to [username].”
- On PC: Go to the gear in the top right corner of the window. Under “Sharing” select “allow access to [username].”
If neither of these steps corrects your problem, contact the IT Help Desk at helpdesk@goucher.edu for further assistance.