Getting Started
How do I?
Search for an item1. Locate “Advanced Search” in the top right corner of your screen.
![]()
2. Click inside the light blue box next to “Advanced Search” in order to place your cursor and begin typing.
3. Type what you would like to search for (e.g. Goucher, Downtown campus, basketball)

4. Press the “Enter” button on your keyboard. (See instructions for “View an Item” if you require assistance viewing the item you have searched for.)
1. To narrow your search within any collection or list of results look on the left side of the screen. Please note that the search terms listed below are only for the Goucher College Archival Photograph Collection. Search terms will vary by collection.

2. View “Decade” if you would like to narrow your search by decade. Please note results are listed by frequency and to see additional options please click on “Show More.”

3. View “Keywords” if you would like to narrow your search by keyword. Please note results are listed by frequency and to see additional options please click on “Show More.
4. View “Campus” if you would like to narrow your search by campus. Please note that Campus designation refers to a time period and not necessarily the location of the photograph. Baltimore, MD downtown campus covers the time period from 1885-approximately 1953 and Towson, MD campus covers 1953-present.

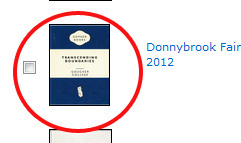
1. Locate the item you would like to view.
2. Click on the small picture, or “thumbnail,” to view the item.

1. Once you have opened an item, look in the upper right hand corner of your screen for a right arrow in a box.

2. Click the right facing arrow to move forward to the next item.

3. Click the left facing arrow to return to the previous item.

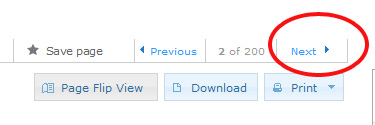
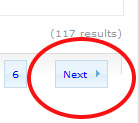
1. Beneath and to the right of the document title, look for a “Next” button.

2. Click the “Next” button to advance to the next page.
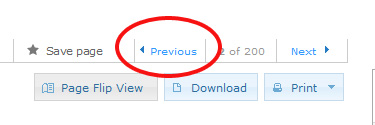
3. Click the “Previous” button to return to the previous page.
1. Locate the magnifying glass image in the upper left above your selected document. Please note that the functionality of this feature will vary with your browser’s pdf viewer.
2. Click the magnifying glass.
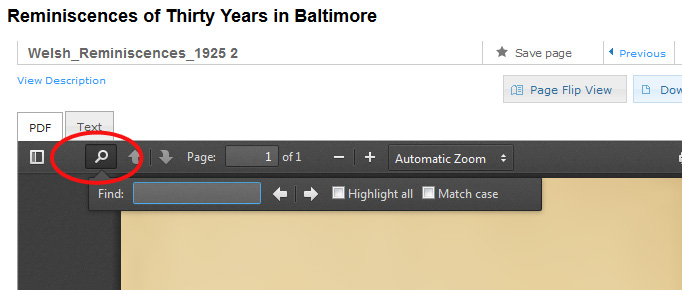
3. Enter your search term in the “Find” box. Please note that this may only search the current page of the pdf displayed and not the entire document.

4. To search the entire document (if not the default) it is recommended to download the item to your personal device and use Control+F to locate the desired text.
1. Locate the blue “Download” button on the right side of your screen.

2. Click the “Download” button.
3. Select “All (PDF)” if you are downloading a text-based document. Select “medium (500×500) max if you are downloading a photograph. (Note: the download options may differ depending on whether you are using Mac or PC, as well as based on what web browser you are using. If you are having trouble, please contact the Digital Library staff.)

4. Select either “open” or “save” when prompted. “Open” will open the document on your computer once. “Save” will keep the document on your computer and allow you to access it whenever you wish.
1. Locate and click the blue “Print” button on the right side of your screen (adjacent to “Download” button).
2. To print the entire document, select “All.”

3. To print only the page you are currently viewing, select “This page.”
4. To print a portion of the document, select “Subset,” then follow the instructions that appear on the screen.
1. On the Digital Library homepage, select “Browse Media Type.”

2. Select “Yearbooks.”

3. Locate the yearbook you wish to view by scrolling up and down the screen. To advance to the next page in order to see more years, click the “Next” button on the right side at the top and bottom of the screen.
4. Once you have discovered the year you wish to view, click the image of the yearbook’s cover or the blue text which reads “Donnybrook Fair YYYY” to open.